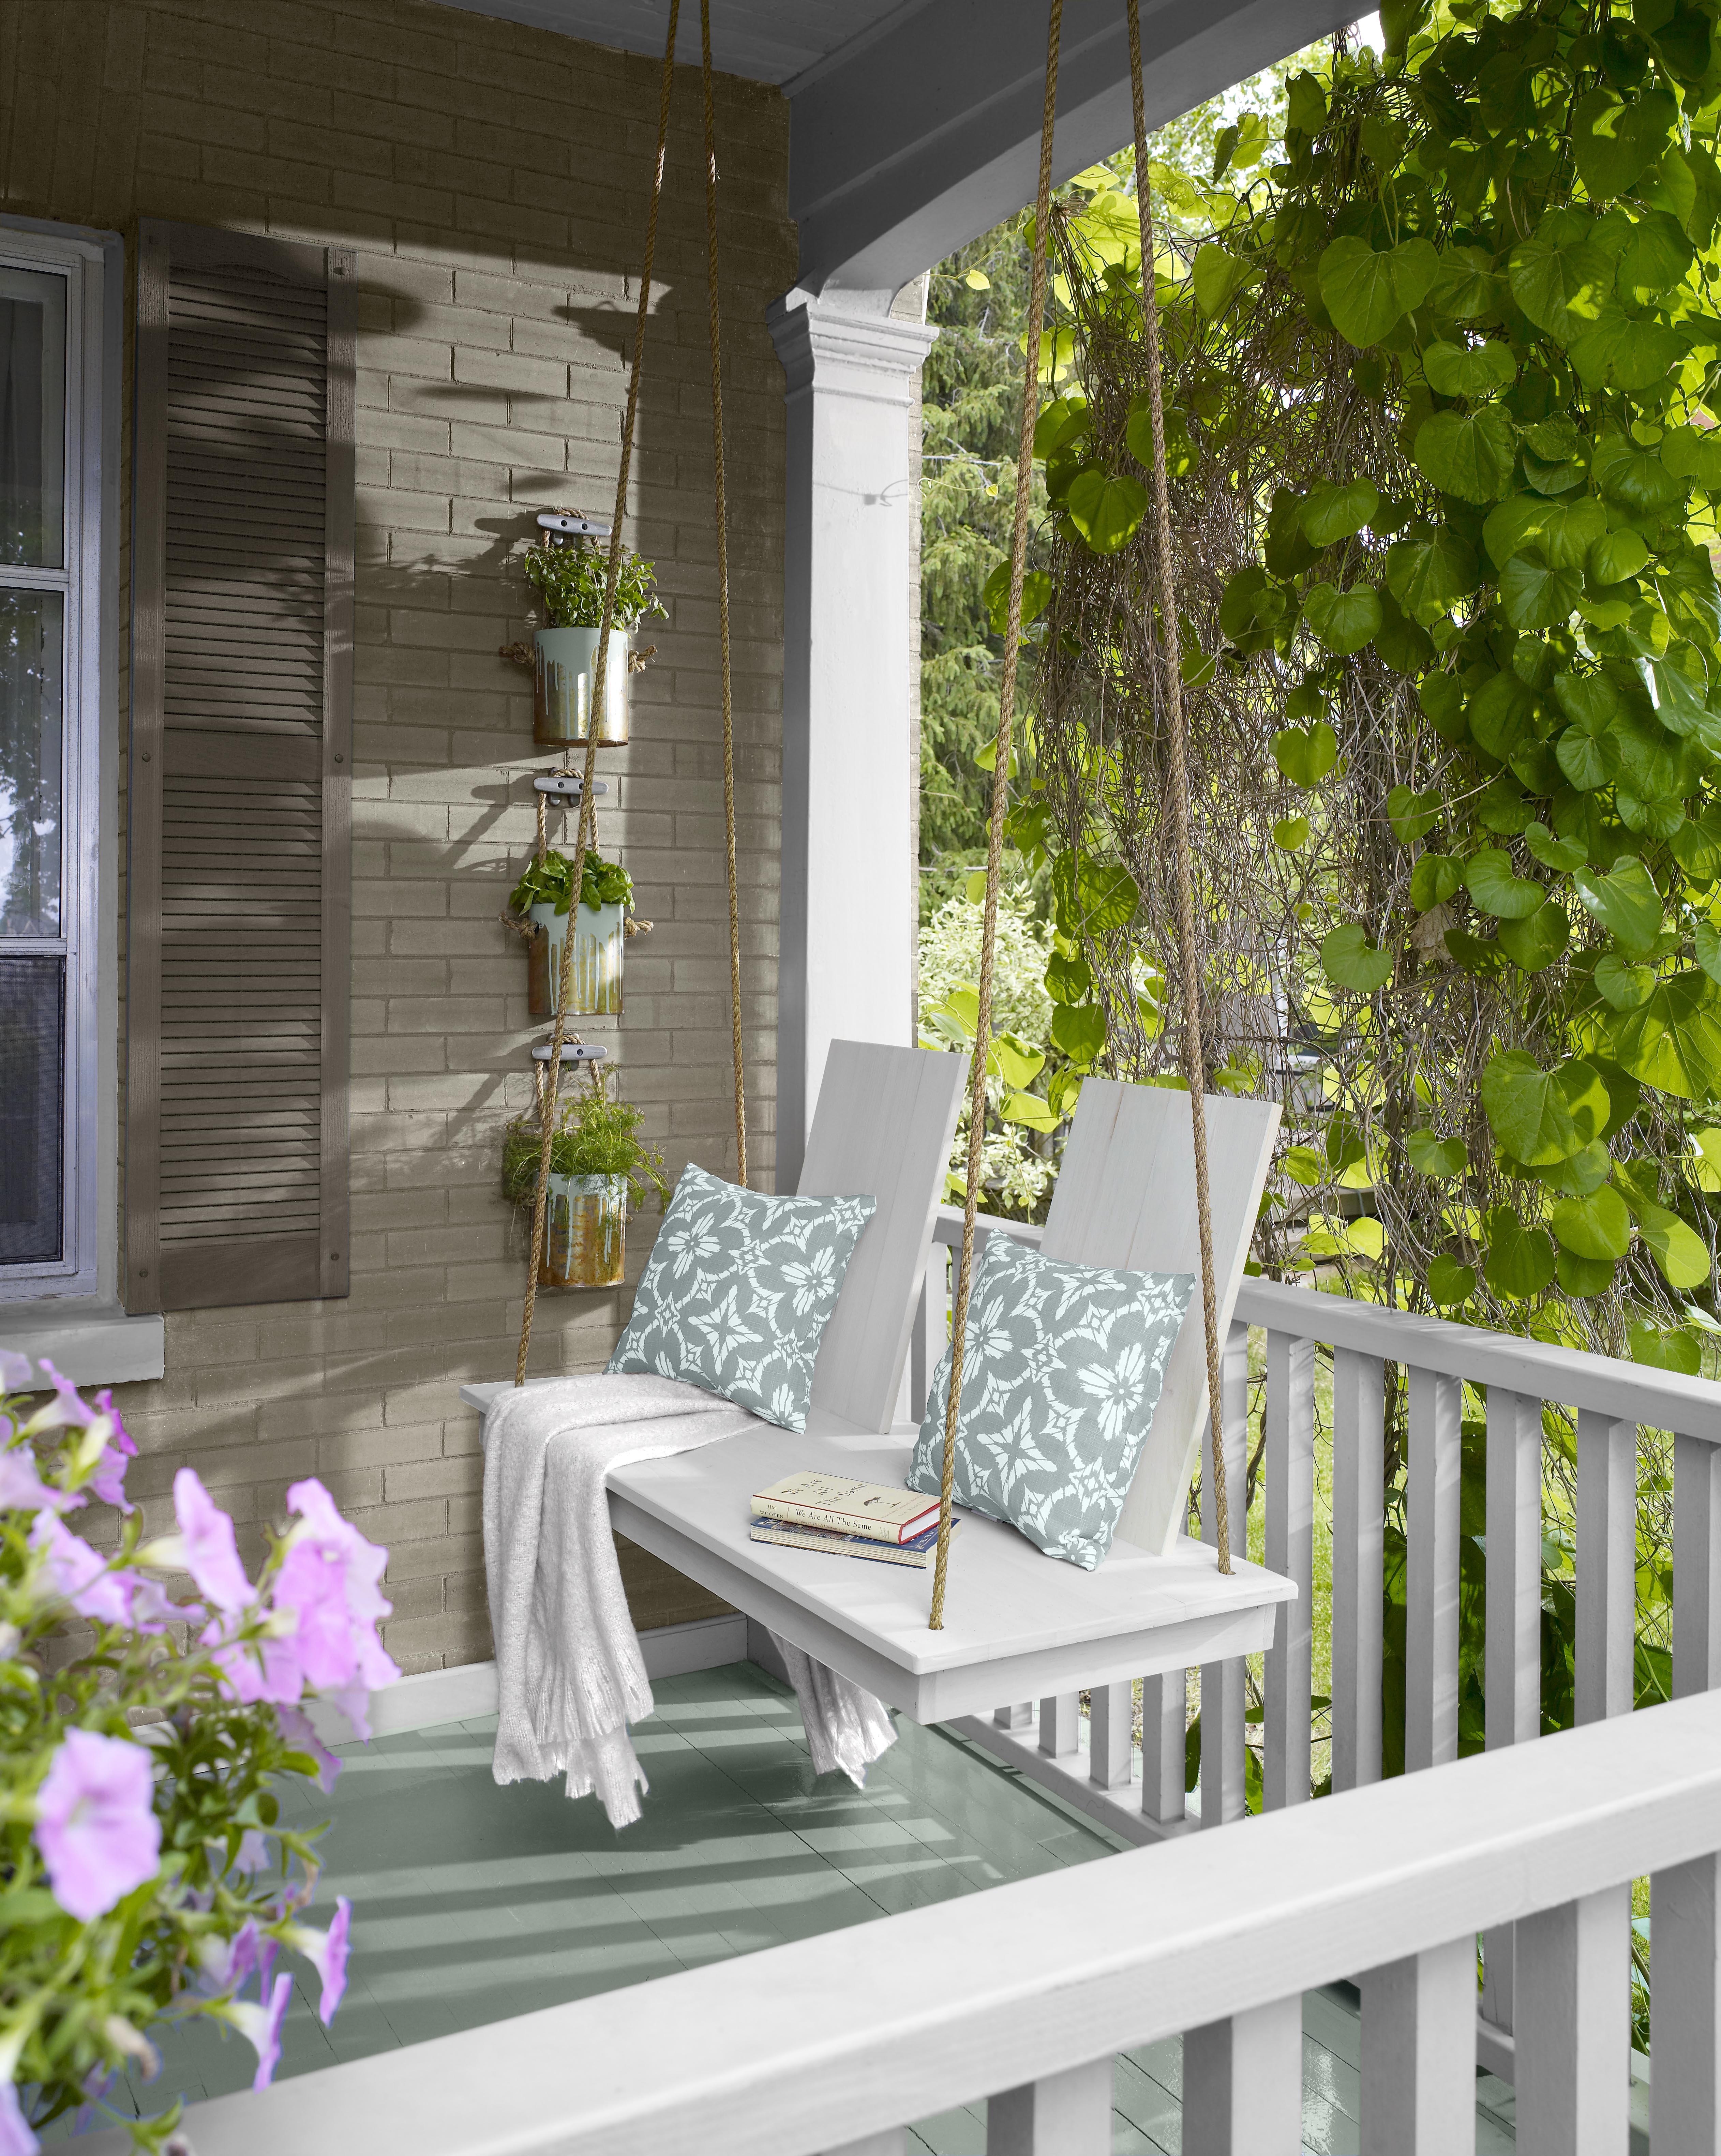
 Create a contemporary version of the iconic porch swing. The idyllic seat on a summer's day.
Great swings should not be allocated to the outside, bring them in for additional seating that makes a fun design statement.
Shopping List:
- 44 Linear Feet - 1" x 4" S4S Clear Pine Lumber
- 16 Linear Feet - 1" x 3" S4S Clear Pine Lumber
- 2 Linear Feet - 2" x 4" S4S Clear Pine Lumber (generally sold in minimum 8' lengths)
- 1/2" Sisal or Manilla rope in desired length for hanging the swing
- 2 Large Screw Eyes that accommodate the rope width
Here's How:
- Cut your 1" x 4" lumber into the following lengths - (6x) 48" & (8x) 24"
- Cut your 1" x 3" lumber into these lengths - (2x) 46" & (5x) 17 ½"
- Cut your 2" x 4" lengthwise approximately down the middle with the saw blade at a 5-10% angle.
- On one edge of a 48" board, measure in from each side 5" and 19 1/8" respectively, making a mark 7/8" long. Using a straight edge, draw a line connecting the two sets of marks - use a jigsaw to remove these 2 long rectangular pieces.
- Next, place the six 48" boards next to each other on a flat surface with the previously cut board on either end, with the cuts facing inwards. Apply a thin coat of wood glue to each edge of the boards and gently place together. Make sure all the boards are aligned at their ends, then use three 24" or greater clamps to squeeze the boards together.
- Use the same process on the two sets of four 24" length boards, creating the seat backs.
- On the bottom side of the porch seat, draw a straight parallel line 1" in from each side; arrange two 46" long and two 17 ½" long 1"x3" boards to create a frame within the outline. Place the remaining three 17 ½" long 1"x3" boards within the box, two on each end and one in the middle. Go back to the boards standing vertically, apply a skim coat of glue on each end of the boards where they connect and on their bottom side, then clamp and apply a steady weight atop. Apply glue to the bottom side of the three 17 ½" long boards and also apply weight until dry.

- Next, take the two angle cut 2"x 4" pieces and glue them to the bottom of each seat back, angled side inwards so that if you were to stand them up, they would recline backwards with the 2"x 4" at the front. When fully dried, you'll slide them up through the bottom of the seat and glue the top of the 2"x 4" to the underside of the seat.
- For extra durability, you can also use a nail gun or appropriate length wood screws to reinforce joints.
- The last step is to drill four ¾" holes into each corner of the swing. Mark 2 ½" out from each corner in each direction, then draw a line inwards from each and where those lines intersect is where you'll want to drill the hole. Run your rope through each hole, making a knot from beneath, and now your porch swing is ready to hang from eye hooks screwed into a joist of your porch ceiling.
- Paint or stain a desired colour to go with outdoor décor.