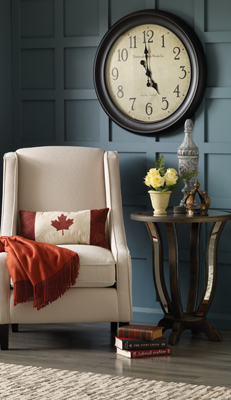
 Add a little dimension for a dramatic accent wall. All you need is some 2 ¾" primed MDF casing from Metrie, a mitre saw, level and a nailer.
Directions
- Begin by framing your wall with the casing - floor to ceiling, wall to wall.
- Next, measure the wall space within. Decide on the approximate size square you want, then you'll need to do a little math to make sure the squares will fit in evenly.
- Measure, cut and nail the long vertical casings first. In addition to using a level, we also found it helpful to mark along the top and bottom casings where each one needed to line up, just in case they weren't perfectly straight.
- With the wall divided into vertical columns, double check the internal width of each one and begin cutting the casing into these smaller pieces.
- For placing the horizontal pieces, you can put 2 of them vertically within a column, while sitting another, horizontally, on top of these. Use a level on top for extra assurance, then nail that piece and pull the bottom 2 out. Move your way along the columns, and when you reach the end of the wall, begin on the row above until you get to the ceiling.
- With your grid wall now complete, you'll want to fill the small nail holes with some wood filler, sand smooth and wipe down before painting. You may also want to use caulk where the casing meets the wall, if you find there are noticeable cracks.